Hello and happy Wednesday! Are you ready for some more inspiration using this kit? Yesterday my CASE-ing Tuesday card was created with one of the card bases from this kit. I absolutely LOVE this kit so much! If you missed yesterday’s post, you can see it here. Were you able to catch my Facebook Live? If not, you can watch the replay over on my YouTube Channel here. I shared all of the goodies that the retreat attendees received this past weekend, so you want to take a peak. Also, to keep up on all the fun, join our new Creative Escape Retreats by Scraps by Sissy Facebook Group. It’s a place to share your creations, get inspiration and get all the info on our upcoming events.
Let’s look at my scrapbook layout first.

Here are the measurements:
- White Willow bases – 12″ x 12″
- Two-Toned Basic Black – 2 @ 2″ x 12″ (light side)
- Basic Black, Daffodil Delight and Lemon Lolly – die cut
- Photo mats in Two-Toned Basic Black – 3 @ 4 1/4″ x 6 1/4″ (dark side)
I have to say that I really love how that turned out! I knew I just had to play with the Meant to Bee dies with this kit and used the dies to create the honeycomb look and the title. I did stamp the honeycomb image from the Paper Pumpkin kit on the piece of Daffodil Delight hexagon. That is actually the journaling tag that I created with one of the card bases. I trimmed it to 2″ x 3 1/2″ and attached it under the half hexagon piece. It just slips behind the photo mat. I know it’s hard to see in the photos, but I did stamp the honeycomb from the kit in Daffodil Delight ink, stamped off around the photos. I used a couple of the die cuts from the kit and sprinkled on some of the Opal Rounds Assortment for bling. I can’t wait to add my photos!


Now let’s look at my first alternate card.

Here are the measurements:
- Card base in Lost Lagoon – 8 1/2″ x 5 1/2″, scored at 4 1/4″
- Basic White – 4″ x 5 1/4″ and 3 3/4″ x 5″ for the inside
- Kit card base – 3 3/4″ x 5″
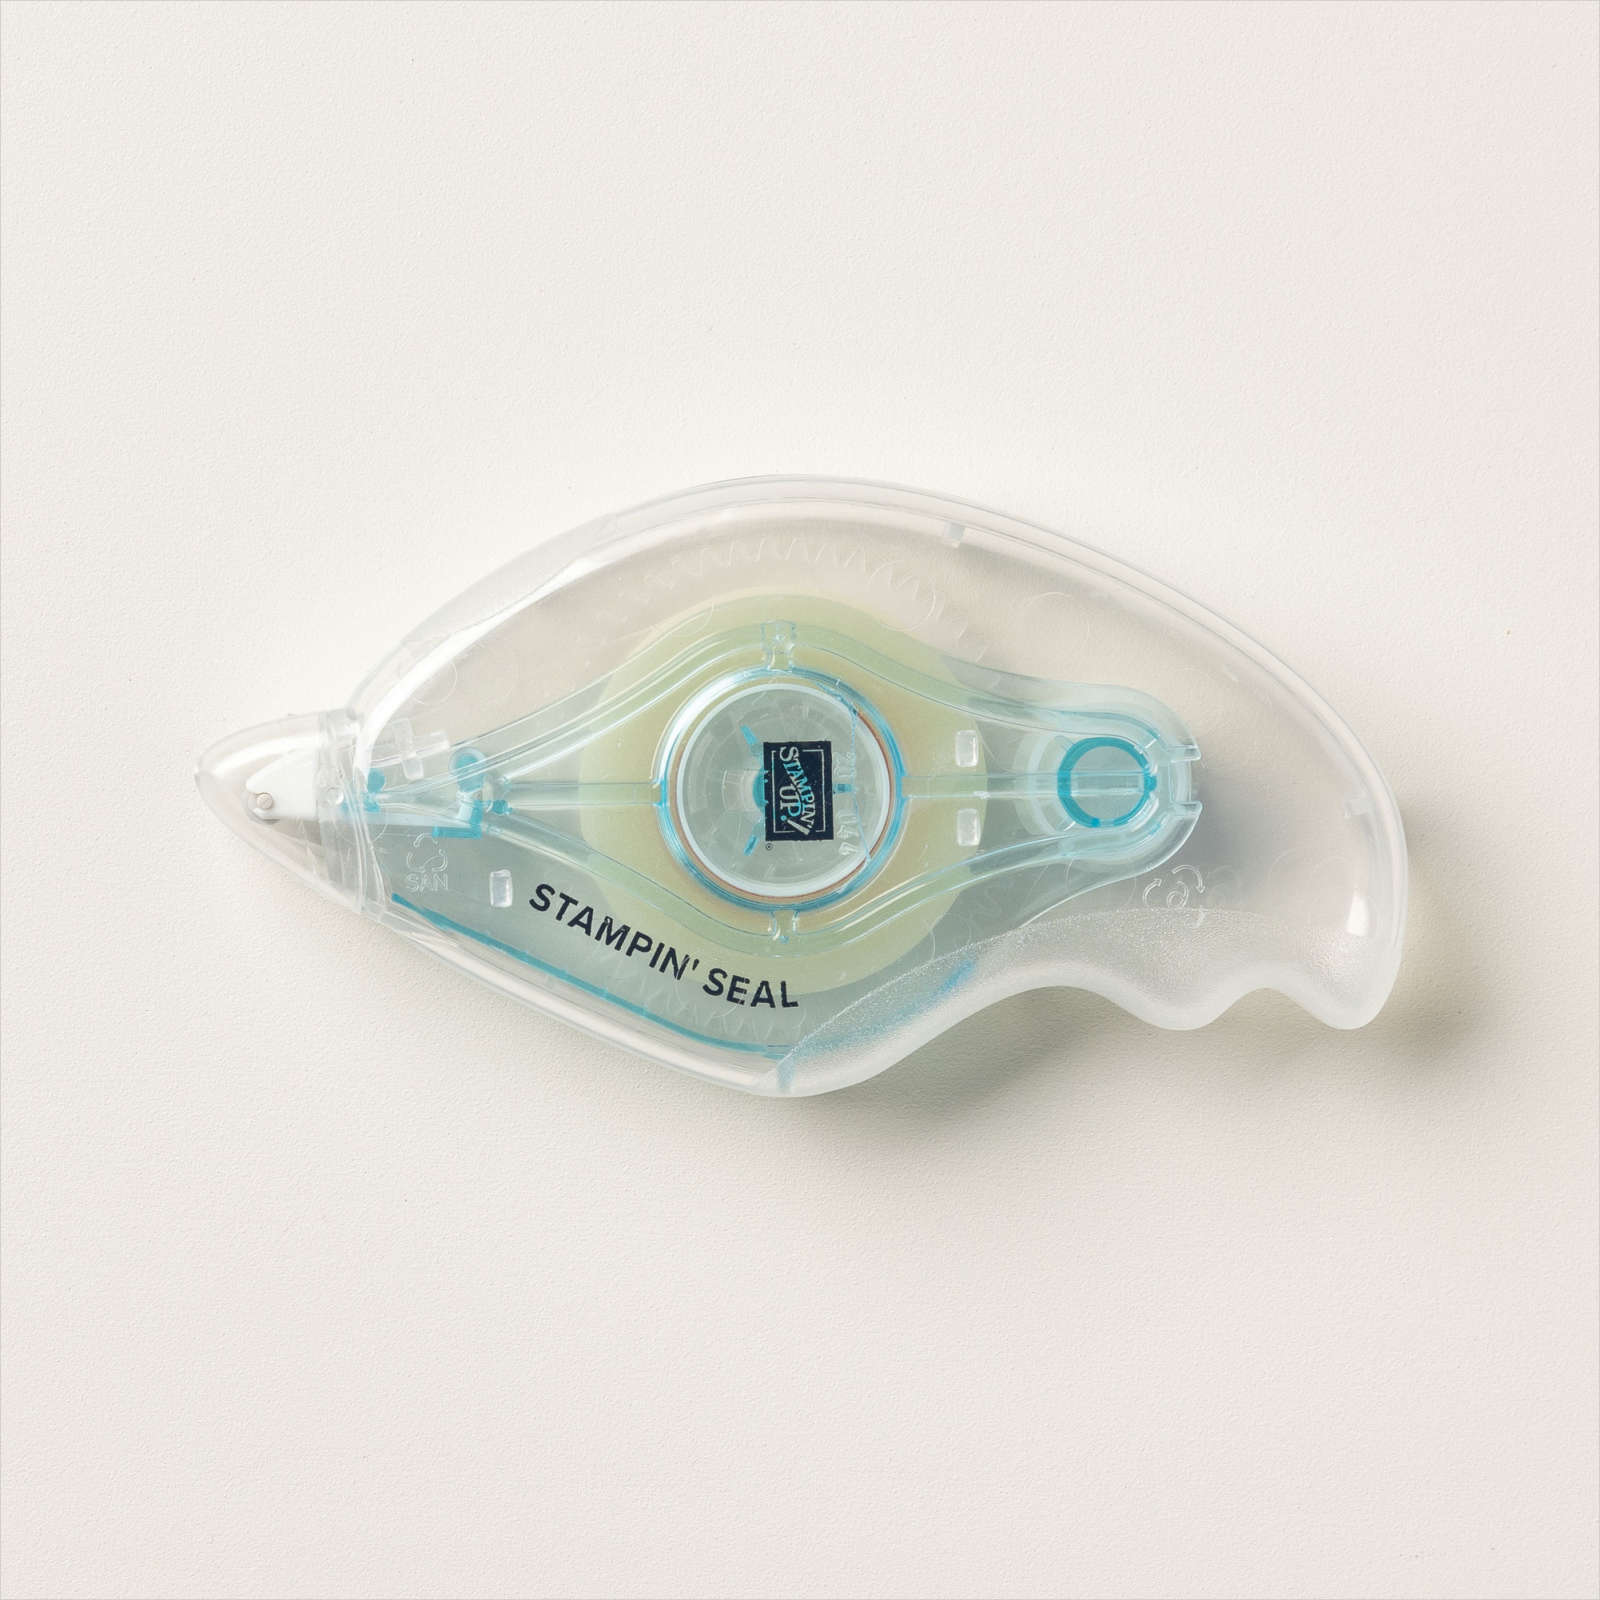
I actually created both the scrapbook layouts, my CASE-ing Tuesday card and this card at my retreat. When hosting my retreats I don’t have a lot of play time, so I was happy to get any time at all. I knew when I saw the Pool Party card bases in the kit that they would look pretty with some Lost Lagoon, which is the color of the ink spot in the kit. I simply cut my layers and attached them together with Stampin’ Seal. I then stamped my sentiment on one of the labels from the kit and attached it with dimensionals. The die cuts are also added with dimensionals. I did add some Wink of Stella to the bumble bee wings on all the bees I used in this kit. Then I sprinkled on a couple of the same Opal Rounds Assortment dots for bling.

For the inside, I added another die cut on the corne of the layer and stamped my sentiment. I like the look of the sentiment next to the die cut at the bottom.

I will be using one of the envelopes from the kit for this card. Now let’s look at the last card I created. It’s actually a take on my CASE-ing Tuesday card.

Here are the measurements:
- Card base in Daffodil Delight – 8 1/2″ x 5 1/2″, scored at 4 1/4″
- Kit card base – 3 1/2″ x 5″, 3 1/2″ x 3 5/8″ ane 3/4″ x 3 3/4″ for the iniside
- Mossy Meadow – 3 1/2″ x 3 3/4″
- Basic White – 3 3/4″ x 5″
This is the same card I created for my CASE-ing Tuesday with a little change – I basically cased my case. 🙂 I trimmed the back of the kit card base to 3 1/2″ x 5″ and the front to the 3 1/2″ x 3 5/8″. I attached them together and then to the card with Seal. The label from the kit is stamped in Mossy Meadow and added with dimensionals. I attached the bee with a dimenisonal, added Wink of Stella and then some of the Opal Rounds for bling.

Then the inside I added the strip to the white layer and then to the inside with Seal. I’ll wait to stamp it to better personalize it when I send it.

Isn’t that a beautiful kit? I have been a subscriber since the beginning and I have to say, these kits just keep getting better! If you’d like to subscribe or purchase any of the items I used today, just head over to my online store here. The Paper Pumpkin site is now a part of the Stampin’ Up! website, so it makes it much easier to subscribe or edit your subscription now.
Thank you so much for stopping by today. I hope I was able to inspire you and help you make more with your Paper Pumpkin kit. I’d love to see what you came up with! Have a great rest of your week!
Supplies used: